Total Pageviews

Showing posts with label vintage tractor. Show all posts

Tuesday, 31 May 2011

Link Arms

OK, double posting for the price of one. Re-motivated that I've finally sorted the Top Link Rocker Bush my attentions have turned to the link arms. Originally removed during the dismantling process and stored.  The first job being to replace one of the Link Arm Ends. When I first got Tillie, one of the 'ball joints' was missing from one of the arms. I decided to replace this with a replacement weld on end. If this is successfull, I will proberly end up replacing both ends on both arms as they are all fairly badly worn. However for the meantine I decide to just replace one and leave the others for next winter.


Replacement end welded in position ready for fettling.

I now turn my attention to preparing the arms for painting. I favour using the two types of abrasive impregnated grinding wheels shown in the photos below. The solid wheel being very effective at rapidly removing paint and rust, with the orange coloured flexible brush good at producing a good finish and a getting into corners etc. These aren't cheap but I find more effective than traditional wire bushes.

Arms prepared I decided to prime both arms, fit to the tractor and then brush apply a top coat as shown below.
Whilst I have the paint to hand and after painting the Link Arms, instead of throwing the supplus paint away I decide to very roughly and without to much preparation bush paint the front wheels. These like the rear wheels are coated in various coats of grey, white, and green paint (see inside of rear wheel above and front wheels on the Blog header picture). Frankly, making Tillie look very shabby. I had originally planned to wire brush the wheels reprime and spray paint a top coat.

Anyway although only a quick botch job, just having the front wheels all one colour is a big improvement.
Not good on close inspection but from a distance a big improvement.

Tuesday, 26 April 2011

Top Link

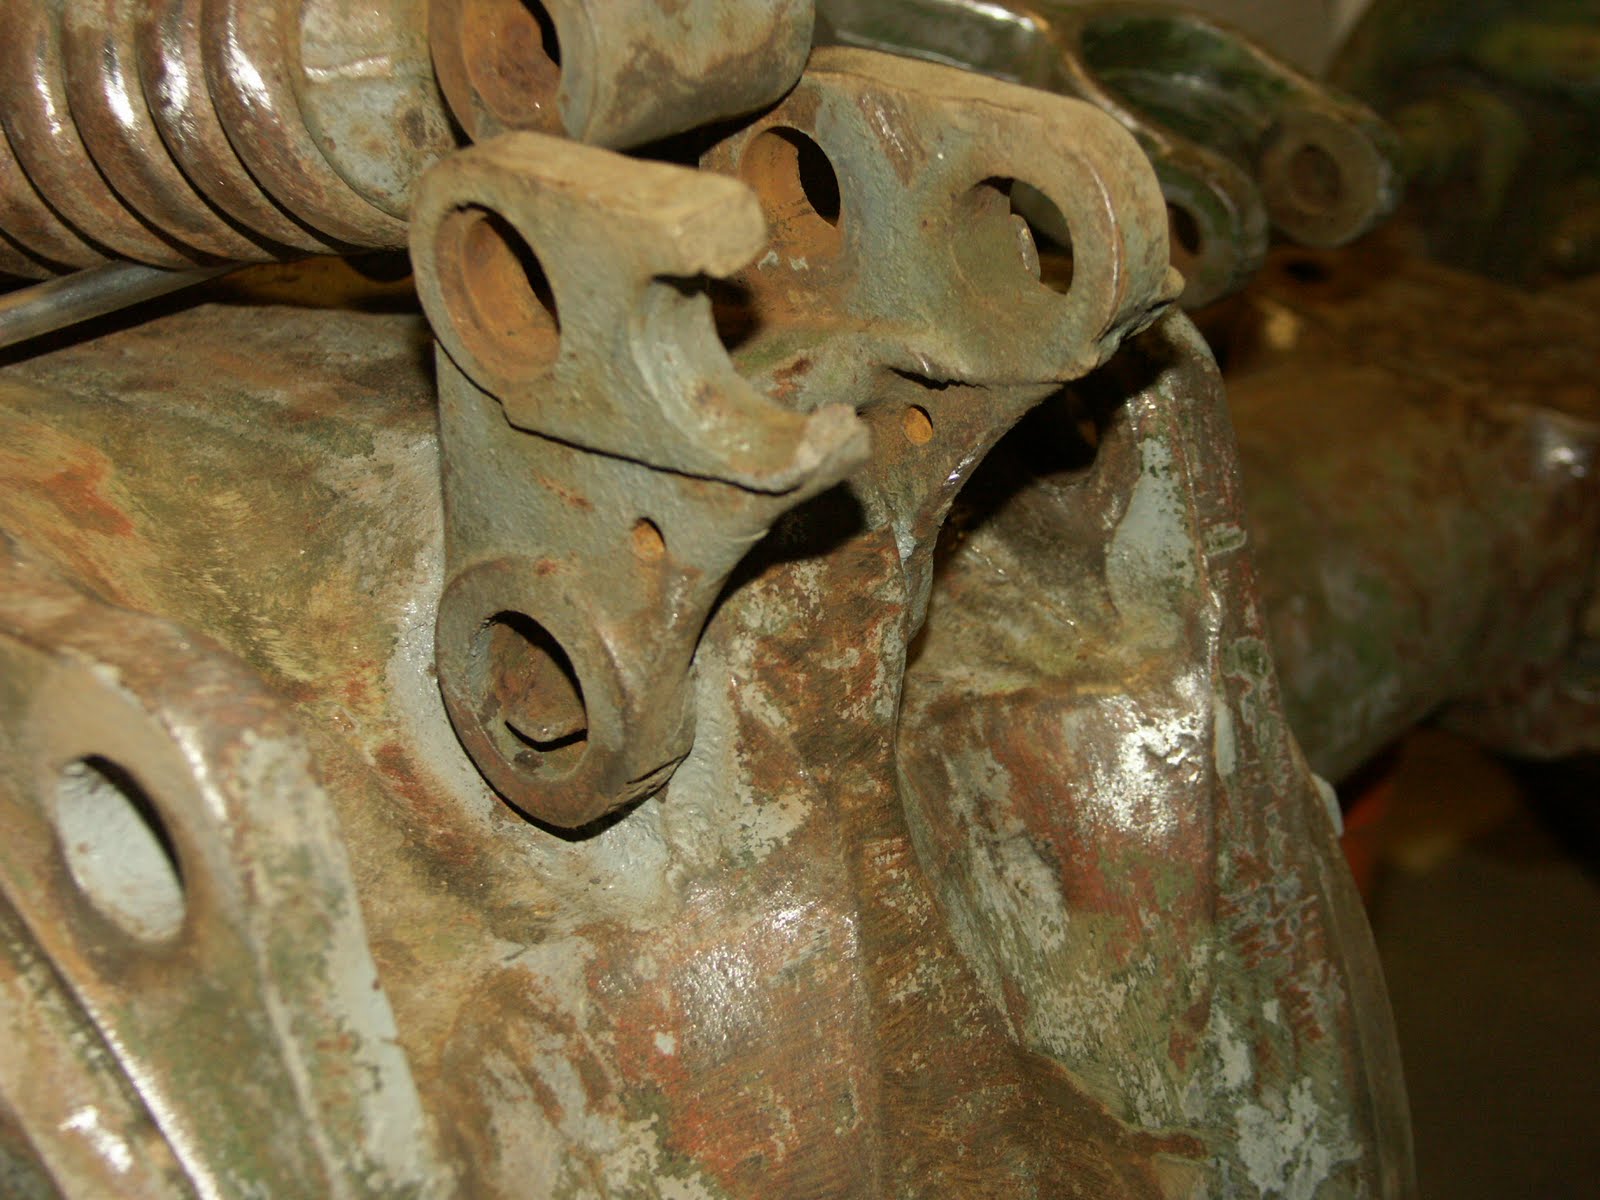
When I first got Tillie, almost 2 years ago, the Top Link Rocker Bracket was broken as shown in the photo below. I couldn't get the Rocker bush to move. It was broken on one side and just corroded into position. I decided to remove the broken Top Link Rocker through a mixture of grinding and brute strenght.

With the Rocker Bracket removed, I thought I would have more room to work on the Bush but still couldn't get it to move. As a result, Tillie got painted with this job consigned to the 'too difficult list' for the time being. Ending up with the Bush remaining in place and being painted as can be seen below.

With the good weather I decided to give this job a second go. What I had found out was the Bush was rock hard, I had tried to run a hacksaw on the inside to see if I could cut it. But the blade just skidded of the inner surface. Whilst looking for a suitable punch or chisel to use I came across an old blacksmiths drill I had. This was the perfect diameter to drill out the Bush, passing through the left hand side axle side flange as seen below.

Well I guess I was just hoping, right ! the drill just bounced off the Bush hardly leaving a mark. So back to the drawing board. What I did find was an old socket wrench extension bar that like the drill could be passed through the side flange allowing me to use a large hammer and was a just the right size to use as a punch on the Bush.

20  minutes later and the paint on the opposite side of the Bush and casting had cracked demonstrating the Bush had started to move. Lot's of release oils and a further 10 minutes of hammering had the Bush well on its way. The photo below shows my makeshift Bush removal tool (Socket wrench extension bar) and the Bush halfway out. Thinking it through it could have been partly down to the very warm weather (25 degrees) that may have just caused the casting to expand a bit ?

The final picture shows the new Top Rocker Link in position all ready for a new Bush which I will need to now order.

Sunday, 24 April 2011

Wings - The Final Chapter

Saturday update, couldn't wait.
With the sun shining the paint on the wings has hardened nicely over night. First job is to mount the wings on the Tractor. I need some proper bolts for this, as the new bolts that I'd got aren't long enough to go through both the top and bottom axle mounting flanges. The short ones will do for now.

Wings mounted, adds the finishing touch. I'm pleased with the finish and the 'old lady' enjoys a bit of early morning sun. 

Trigger happy with the camera.


Think this makes an interesting view of a Ferguson.

More Wings

OK, great day on Friday for top coating the wings. I decided to mount both wings onto a length of timber and then hold this in a workmate so that I could spray both the inside and outside of the wings at the same time. The other advantage of this being the wings are the right way up (previously I had sprayed them whilst hung from the garage roof which meant they was effectively upside down whilst spraying).

I'm keen to get as good a finish as possible, to match the bonnet as this turned out so well.

With both wings screwed down to my makeshift timber bench I can start the spraying process. I'm also going to spray the air filter at the same time. A couple of base coats (about 10% thinner in the paint) then leave these coats to 'tack off' before two more coats of about 20% thinner to bring out the shine.
 Finished job with the air filter in the background. note the timber that the wings as screwed to and all the plastic sheet to stop my garage being turned Ferguson Grey at the same time.

Sunday, 17 April 2011

Wings

With the sun shining, I have set about finishing fitting the new wing skins to the original wing frames. With both frames removed, and after plenty of grinding the frames have been primer.

I have started by attaching the bottom frame (the wings came with the bottom centre bolt hole already drilled but no others) Once in place, I then drilled the other 6 holes. 2 for the bottom frame and 4 for both the bottom and top frame where the two frames bolt together.

I'm using 10mm stainless hex nuts and bolts with nyloc nuts for the bottom 7 fixings and 8mm dome headed bolts and nyloc's for the top 3 fixings).

This picture shows both wings bolted to there primed frames, hung ready for painting.
You can just make out all 10 fixings it you look closely.

I've decided to paint the wings in two separate sessions, the inside and frames first and then the outside. This is mainly due to limited space in my garage. I also wanted the give the insides and frames a good coating of paint to help protect them. The next image showns the wings after a quick blast of top coat.

 Both wings top coated. Plan is to leave them for 24 hrs before preparing the outsides ready for paint. coating.

Tuesday, 15 June 2010

Top Coat

More progress, Sunday saw me start the progress of top coating Tillie. Due to the complex share of the Tractor I've decided to do this in two sessions. The first as seen in the pictures was intended to get a good covering of paint in the difficult to reach areas as well as building up an overall nice base coat. I'm very pleased with the finish. The top coat being Ferguson Vintage Grey from Agriline. Hopefully, this photo allows some comparison of the dash now top coating against in primer from my previous blog.The second photo shows the rest of tractor. I'm greatly inspired now to get Tillie up and running asap. The plan I'm considering is to fit the last few bits of tin such as the battery tray assembly, drag line arms, throttle linkage, seat bracket and give it one last top coat.
I'm thinking of then refitting the petrol tank and rad without refurbishing these parts and trying to get the old girl started again. This would at least check out the engine and clutch refit. If successful, this would also allow some room for me to start on the bonnet paintwork.  

Monday, 10 May 2010

Engine and Gearbox

Please with the priming of the gearbox and back axle. I have now refitted the engine to the gearbox.

This was a fairly straightforward task of balancing the block on a trolley jack with the help of a ratchet strap and Jammer. Once done then aligning both the engine and gearbox before bolting up. 

Not forgetting to coat the engine and gearbox mating surfaces and bolts with Duralac paste to prevent galvanic corrosion.

With the engine mounted, I fitted a new head gasket and replaced the head and rocker assembly. Pleased with my mornings work and over dinner with Carl and Phil, I decided to crack open some of last autumns cider.

The general consensus being that the work last Sept was worth it ! The bars been set. Up to Phil, Geoff and Rob to see if they can better it. Why is it in the blog? well its named after Tillie of course !!
 

Tuesday, 4 May 2010

More Bank Holidays

What a difference a Bank Holiday weekend makes. Or maybe its the recent good weather or, my recent tyre purchase? Whatever, it meant I was able to commit some real time to Tillie.


On Friday I spent a few hours wire brushing the final bits of old paint off the back axle and removing the Top Link Rocker. The location pin is rock hard so I still have the pleasure of removing the pin but have managed to remove the rocker.
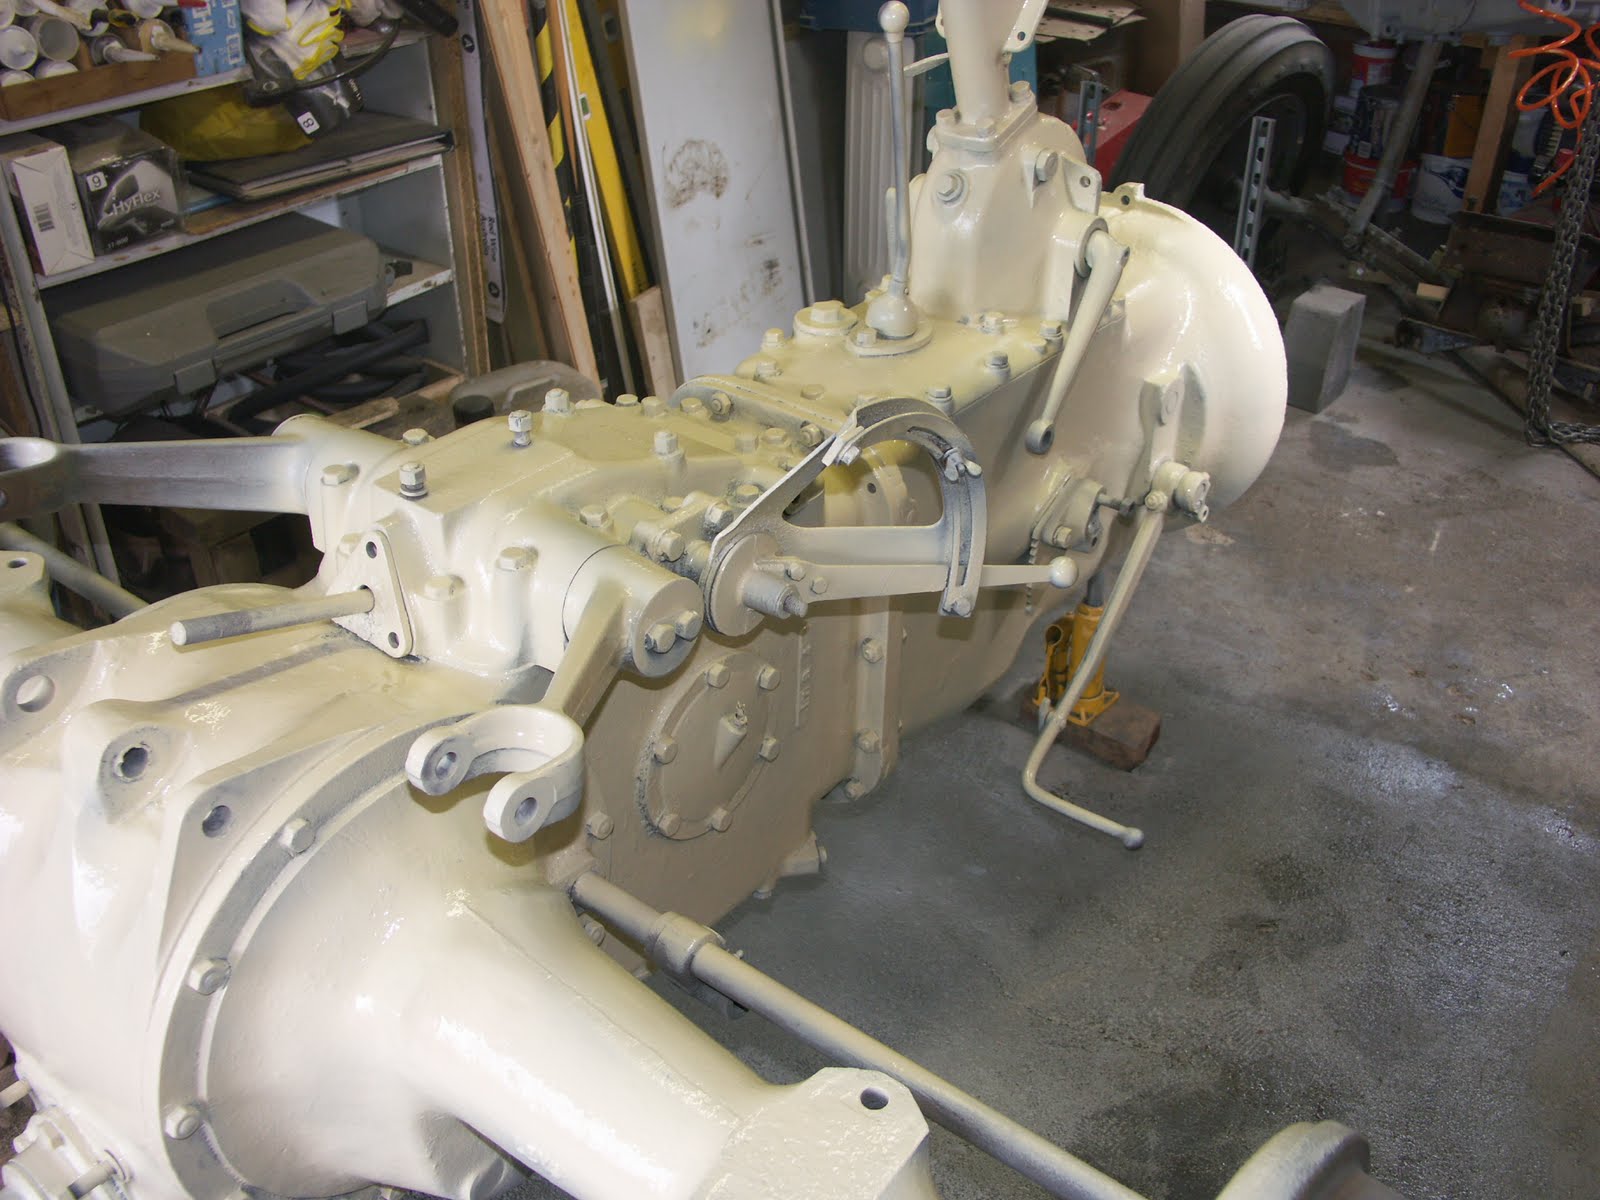
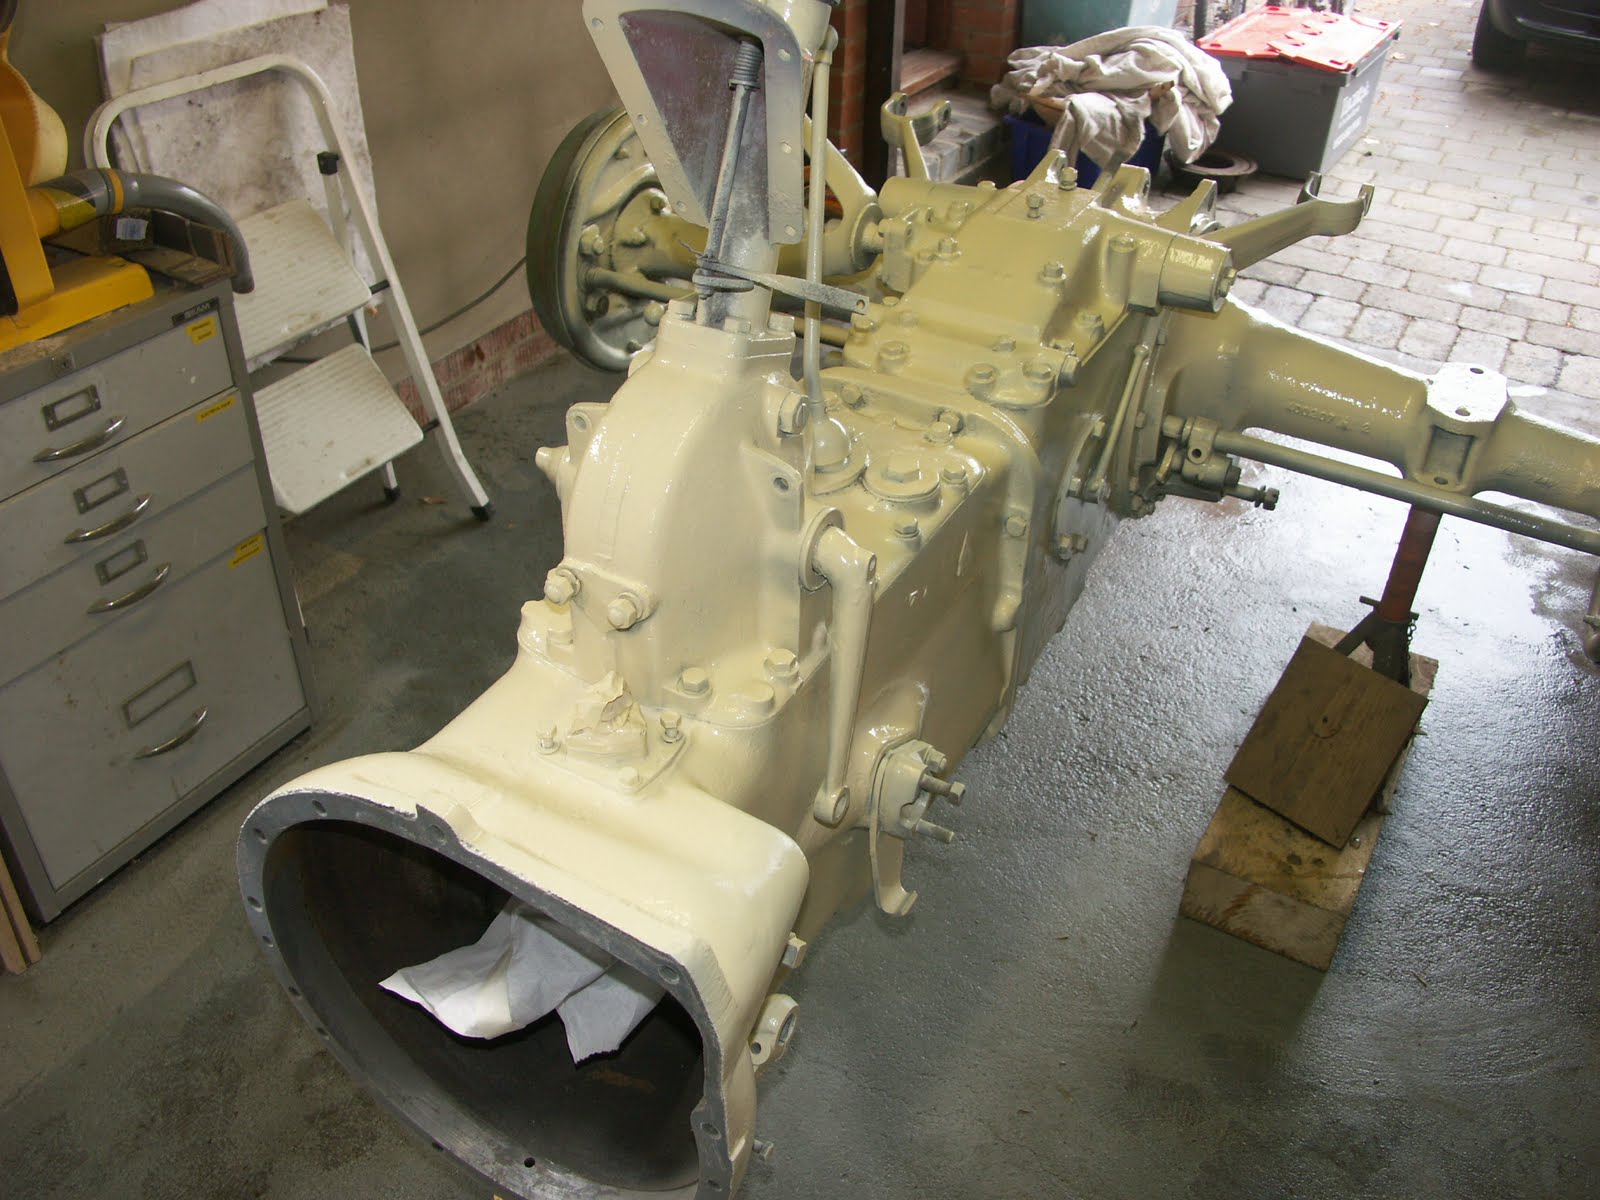
The photo opposite shows a 'naked' Tillie. With the tractor now prepped time to turn my attention to priming. I have decided to use a enamel primed called 'Repaint' as I already have a tin of primer and thinners. The thought of spraying the tractor takes me back to my late teens, when everybody seemed to spend there lives repairing car body work with Isopon P38. I can still remember the smell of the Isopon (probably not a good thing!) and spending hours rubbing down filler and spraying car panels.
As can be seen from the next photos, the primer is a cream colour. This will help when I top coat the tractor in seeing where I've been and the depth of the top coat.
Spraying the primer has produced a good finish and I'm really pleased with the result.
This only took about an hour, so time to go to the Pub afterwards to settle the dust.
The plan is to leave the primer a couple of weeks to fully harden before top coating.


For the top coat, I already have some Agriline Ferguson Grey enamel so the plan is to prepare the dash, battery tray, track rods refit the engine and front axle before top coating.
It's satisfying to see the results all coming together.

Saturday, 1 May 2010

New Rubber


Quick update,

Spotted a pair of rear tryes for sale on ebay. As Tillie currently only has grass tryes, thought these would complete the look. Deal done, a trip to Essex to collect and home.

Got home about midnight, with no sign of the trailer tailgate !!!!

Deciding that it couldn't have come off on the motorway, I retraced my route only to find it laying in the middle of the road in the next village to home. A real mystery how it became detatched ! But thankfully no damage done.

A quick hose down the next day and the tryes look good, brand new and unused a result.

Tuesday, 20 April 2010

Change of Plan

Current situation, Engine hung from the garage roof, new clutch attached and waiting to be refitted to the gearbox. Virtually, every removal piece of tin-work (dash, battery box, seat, wings) removed from the chassis. Lift arms and top link and control spring removed. Front axle laid on the floor.

Poor Tillie doesn't much resemble a tractor !

What's more I've been reminded that I have a bet on down the pub that the old girl will be back up and running by the 6th June, help !

With this in mind I had a major push on Saturday continuing to prep the back axle, gearbox and bell housing ready for primer. I've decided this is the priority, and need about another 8hrs wire brushing, grinding and cleaning.

Once primed the plan is to refit the engine leaving the front axle to strip and paint and all tin- work. Its fills like an uphill battle and a tall order to hit the 6th.

Tuesday, 6 April 2010

Proof that Oil and Water Don't Mix

As variety is the spice of life I've decided to have a little break from the engine rebuild. So I set about removing the dash panel and battery tray ready for prepping the gearbox and axle for painting. I'm using a range of wire and abrasive coated nylon brushes in an electric drill to remove most of the old paint, muck and corrosion. Whilst tackling the steering box, water started to run from the bottom of the steering box casting. After about 200ml, the water changed to oil which in turn changed to a thick orangery sludge !
As can be seen from the first photo, note the running water !
Having allowed all the oil to drain and pushing out the sludge using a air pressure, I was left with a small hole in the ally casting. Interestingly this had showed no signs of leaking prior to me removing the old paint. I guess the oil is under no pressure so a bit of paint was sufficient to prevent any leaks. The hole can be clearly seen in the photo below.

Options for repair are either remove the steering box and take a trip to the welders or, fill the hole with a liquid metal or epoxy adhesive. I decide to go the epoxy route for both speed and cost. If paint stopped the leak then providing the surface is well cleaned epoxy should in theory have no problems.
Just visible in the third photo is the repair. I've decided to fill the steering box with a semi fluid grease instead of oil on the basis that this should limit any leakage from the steering arm seals. Hopefully the epoxy repair will hold and once painted won't be visible.

Friday, 19 March 2010

Crankshaft

Right, time for another update. Having removed the sump I have checked the crankshaft end float. This is 12 thou. The manual suggests the new clearance should be between 5 and 12 thou with a "max permissible return to service wear" of 10 thou (I'm guessing this means that if greater than 10 thou the engine should not be put back into service without new bearings). I've therefore decided I need to replace the thrust bearings and the main bearings at the same time.

When the new thrust bearings arrived, I decided to compared there thickness, the new bearings being 2 thou thicker than the old ones. With a bearing either side of the crank journal this should reduce the end float to about 8 thou ( I hope).
I'm now in a position to start the reassembly process. This feels good after a couple of weeks of un-bolting and removing as many parts as I can.
After reassembling the bearings and replacing the rear seal (easy with the sump removed). I used a dial test indicator to measure the new end float. 7 thou and success!
Whilst cleaning up the sump jointing flange on the bottom of the engine, I come across two sets of hand punched figures at either end of the block 'H25' (see bottom photo). I'm intrigued to find out what these signify or mean.

With the sump on these numbers are hidden. Hopefully the FoFH maybe able to provide an answer or two?
Clutch and rear gear box oil seal ordered today as well. So the next job is to remove the gearbox input shaft and replace this seal. Hopefully this should minimise the chance of any future oil leaks.

Sunday, 7 March 2010

More Engine

Since my last blog, I've managed to ‘find’ a block and tackle. I’m now in a position to remove the engine from the front axle. This will enable me to move the block with greater easy. Therefore the next job is to take off the sump and check the bearings. Having removed the sump, I'm presented with a thick oily mixture in the bottom of the sump that has the consistency of sticky toffee. Better out that in ! (see below).

Looking at the engine internals, my first observation is that the undersides of the pistons are shiny. Is this the answer to why the piston tops were clean compared to the head. I’m strongly of the opinion that the pistons have therefore been replaced.

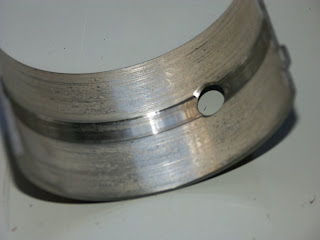
With the sump off I can remove the main bearing carriers. Inspecting the bearings shows some but not excessive wear and that they are of standard size see below. The only problem I have is that I didn't think to remove the front fan belt pulley before removing the engine. My fear being that I won't be able to undo the pulley securing bolt/nut now the engine is out off the tractor. If this is the case I can't remove the pulley and timing belt cover which in turn means I can't take out the crank.

If this is the case I will have to replace the bearings in-situ. Whilst this can be done its not ideal.

On a different note, despite the cold weather I've started to notice that the lighter evenings are coming. Perhaps the first signs of spring. In the back of my mind I'm conscious that I need to start the process of re assembly some time. At the moment all I seam to be doing is dis-ssembly. Lots still to do.

Saturday, 20 February 2010

Time to Split the Engine and Gearbox

This morning, I decided it was time to split the engine and gearbox. In the summer I noticed a oil leak from the drain hole located beneath gearbox bell-housing.
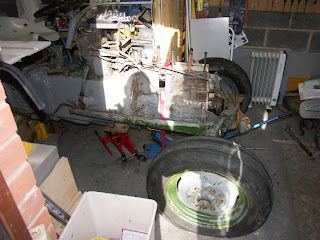
This leak indicating that either the crankshaft rear seal and or the gearbox input shaft seal needed replacing.

As I don't have access to an engine hoist, I decided that I would leave the engine attached to the front axle and once split from the gearbox 'wheel' the engine forward using the front wheels and a trolley jack under the sump for support.

As the engine weights approximately 150 lbs and the thought of it dropping on my toes wasn't part of my plan. I took the precaution of using a ratchet strap around the engine and trolley jack to ensure the engine remained centred on the jack and wedging the engine against the front axle using wooden wedges to prevent the engine 'spinning' once disconnected from the gearbox (see photo below).
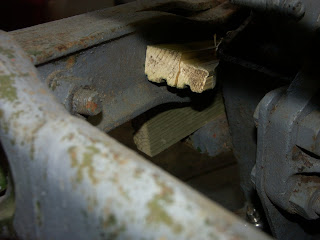
Having removed both track rods this left both the front wheels free to turn independently. Fearing this would cause a problem when moving the engine I took the additional precaution of attaching a piece of timber between the front ball joint mountings in order to ensure both wheels would remain parallel to each other. The timber can just be seen in the next photo at the front of the engine. Finally both radius arms were released from there gearbox mountings and splayed outwards slightly to clear the bell housing.

With all the engine/gearbox bolts removed but for two, I was ready to proceed. Slackening both bolts so that I had about a 10mm gap between the bolt head and the engine. I then called on the trusty foot of Geoff to push the clutch pedal down in order to 'break' the engine and gearbox joint.

The big moment ! unfortunately, nothing happened. A second go, still no luck. "Perhaps if we depress the clutch pedal instead of the brake ?" offered Geoff.
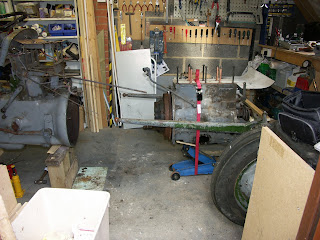

Two seconds later, and pressing the correct pedal this time, resulted in a satisfying 'Pop' as the engine moved away from the gearbox by 10mm . Totally removing both bolts and the engine was now free to be moved forward as seen in the photo opposite. The red ratchet strap around the engine and jack can also be seen in this photo.

Success a split engine and gearbox ! and surprisingly secure.

With the two parts now separated I could examine the clutch and investigate the oil leak. My first observations was of a worn thrust bearing and also badly worn fingers on the clutch pressure plate. In the photo to the left you can see where the front surface of the top finger has completely worn through !

The the pressure plate will therefore need replacing and a new friction plate. 150 quid of unwanted expense.

Now to identify the oil leak, having remove the clutch and flywheel there is plenty of oil on the engine casing. New seal definitely needed. Interestingly, the bottom crankshaft seal retaining plate has a bolt missing (see photo below). Further evidence of previous 'tamperings'

The pilot bearing in the flywheel is also knacked so I'm looking at the following parts;

Crankshaft seal, pilot bearing, flywheel locking plates, friction plate, pressure plate, thrust bearing and a gearbox input shaft seal.

Enough excitement for one day !

Tuesday, 9 February 2010

Head Work

With the cylinder head removed I've started the engine rebuild process. First has been the process of removing the valves in order to regrind the valve seats (thanks Al for the compression tool). I've also cleaned and primed the external surfaces of the head ready for its top coat. Below is a picture of the head during the process of refitting the valves.


Whilst cleaning the head, I also came across a date plate mounted on the exhaust/inlet top face of the head. I can only assume this is the date of the head manufacture or head assembly. The date is 21.8.54. According to the FoFH club, Tillie rolled off the production line on the 24th Sept 1954. The date on the head of the 21st August 1954 is therefore consistent with the manufacture of components prior to full assemble. A case of conception followed by birth. I must say, little discoveries like this are one of the unexpected pleasures of this restoration project. Its like being some form of industrial archaecologist. Pictured below is date plate.

Finally, last week was my Birthday. I'm pleased to say that Tillie wasn't forgotten. She benefited from a new seat (thanks to the Taylor's & the Chaffinches) and a new steering wheel (thanks Doreen). The next job is to split the engine and gearbox. Keep tuned!