Total Pageviews

Saturday, 23 April 2011

Air Filter

As well as propping the Wings, I've started on the air filter. Grinding of the old paint, de-greasing and filling a couple of dents.
Standard approach, using a solid disc in an electric drill to get the majority of paint off and then a grit impregnated brush for the finial clean up and getting into corners etc. The bottom on the filter that holds the oil has some rust holes so this will need to be silver soldered before painting.

All primed and now ready for top coating with the wings tomorrow. The weather has been sunning sunshine so that should help with the painting on Saturday.

Sunday, 17 April 2011

Wings

With the sun shining, I have set about finishing fitting the new wing skins to the original wing frames. With both frames removed, and after plenty of grinding the frames have been primer.

I have started by attaching the bottom frame (the wings came with the bottom centre bolt hole already drilled but no others) Once in place, I then drilled the other 6 holes. 2 for the bottom frame and 4 for both the bottom and top frame where the two frames bolt together.

I'm using 10mm stainless hex nuts and bolts with nyloc nuts for the bottom 7 fixings and 8mm dome headed bolts and nyloc's for the top 3 fixings).

This picture shows both wings bolted to there primed frames, hung ready for painting.
You can just make out all 10 fixings it you look closely.

I've decided to paint the wings in two separate sessions, the inside and frames first and then the outside. This is mainly due to limited space in my garage. I also wanted the give the insides and frames a good coating of paint to help protect them. The next image showns the wings after a quick blast of top coat.

 Both wings top coated. Plan is to leave them for 24 hrs before preparing the outsides ready for paint. coating.

Monday, 4 April 2011

Spring is in the Air

Ok, not much happening on the tractor front yet. However, as we are now in British Summer Time it feels like time to get started on Tillie. Whilst I contenplate what to do, I will share April's picture from the my tractor calender. Enjoy !

Tuesday, 1 March 2011

2011 Update

Christmas and New Year are always a hectic time, also cold and wet so Tillie was put away for the winter.
However on Christmas Day, with snow on the ground, she made an outing to the village pub complete with tinsel !
As it turned out this was most appropriate, as waiting down the pub was a Christmas present. It turned out to be a special tractor calender. It's special because it features a different picture of  Tillie every month. Some of my so called 'friends' and wife kidnapped Tillie and took a topical photo of her for every month. It's a really nice and touching present. I will post the photos later.

At the end of February, I received  an interesting e-mail from Dwayne, (Hi Dwayne). Dwayne lives in California and has restored a 1953 TEA20 about the same time as I did Tillie - the power of the Internet and proof that someone must at least see my blog !
I've posted (above) one of the pictures Dwayne sent. Its a super looking restoration and originally belonged to Dwayne's grandfather. It mush be a real head turner cruising down the highway !

Thursday, 16 September 2010

Top Coat & Wings

Guilty that progress has been slow, and with the need for progress to be made ready for Sunday's Ploughing match; tonight I started on removing the wing frames from the old wings and fitting the new wings I purchased from Agriline.

The old wings both being rotten at the bottom. One wing is fitted to its frame with a mixture of coach bolts and standard hex headed bolts, the other with all standard hex headed bolts. Not sure of the original specification, I'm planning on using coach bolts for the new wings as there appearance is better than a standard hex bolt head. The condition of the old bolts means grinding them off.

With the old wing off,  I get to prepare the frame ready for painting using a mixture of grinding disc and wire brush. I then fit the frames to the new wing and drill the wing. Above are photos of the wing being offered up to the Tractor. Note the coach bolt in the top fixing compared to the temporary hex bolts used on the bottom mountings.

The plan being to brush finish the frames with primer tonight. Fit the frames tomorrow and mastic between the wing and frame and then spray the top coat.
 
From my experience of the bonnet, the top coat is going to take at least 24hrs to harden sufficiently. So they both need to be top coated by Saturday morning at the latest !

I mentioned in my last blog about the finish that I have achieved on the bonnet, hopefully the pictures below give a general impression. I'm pleased anyway !

Shiny Paint !
P.S the wooden bonnet stand I made with castor's on the bottom has definitely been worth the effort.

Tuesday, 14 September 2010

Quick update

Sorry I've been so busy that I haven't updated the blog. By way of a quick update, tonight I top coated the bonnet. I'm really pleased with the finish. For an beginner it looks good.

There is a ploughing competition in my village on the 19th of Sept. Despite not having a plough I'm really trying to get Tillie going so I can make an appearance.

I've also noticed that I have a few more followers, welcome. Hopefully the blog is useful.

Pictures and more text to follow on the build and challenge to get Tillie out on the road this Sunday.

Sunday, 4 July 2010

Hammer Time

Started work on the bonnet. Forgot how badly dented it was. Main job has been to fill the hole on the front when a plough life was fitted at one time.
I've also made a simple support of the bonnet that is on casters so I can move it about easily. I've made the decision to only fill, knock out, the bigger dents as getting it back to being anywhere need straight is going to be a very very time consuming process. Its a tractor after all, not a car !

Wednesday, 30 June 2010

A Quick Comparison

Looking back on some of my original photos of the strip down has reminded me of where I started (on the left). As the strip down started in January, 7 months later it seems progress although slow has been made. Please with the results so far, nothing more to add and time to go down the Pub.

Tuesday, 29 June 2010

Not So Good


Well, just when I thought I was getting somewhere a problem !

Having attached, and mastic'd the bottom bulkhead plate on to back of the dashboard and then painted it (see right). I then realised that I'd attached the bulkhead plate to the wrong side of the steering box mountings.

As can be seen I mounted the bulkhead on the engine side of these mounting points. This meant that when refitting the throttle linkage, the throttle rod disc on the front of the bulkhead didn't sit flush with the bulkhead.

No option but to remove the bulkhead and mastic before repositioning this time on the right side of the steering box (seat side) before repainting. A wasted mornings work!

Tuesday, 15 June 2010

Top Coat

More progress, Sunday saw me start the progress of top coating Tillie. Due to the complex share of the Tractor I've decided to do this in two sessions. The first as seen in the pictures was intended to get a good covering of paint in the difficult to reach areas as well as building up an overall nice base coat. I'm very pleased with the finish. The top coat being Ferguson Vintage Grey from Agriline. Hopefully, this photo allows some comparison of the dash now top coating against in primer from my previous blog.The second photo shows the rest of tractor. I'm greatly inspired now to get Tillie up and running asap. The plan I'm considering is to fit the last few bits of tin such as the battery tray assembly, drag line arms, throttle linkage, seat bracket and give it one last top coat.
I'm thinking of then refitting the petrol tank and rad without refurbishing these parts and trying to get the old girl started again. This would at least check out the engine and clutch refit. If successful, this would also allow some room for me to start on the bonnet paintwork.  

Sunday, 13 June 2010

Dashboard

It feels like I might have finally turned a corner. Today, I started the progress of preparing the dash for painting. I'd removed the dash and related tin work as part of the refurbishment. A quick acid dip and then begins the process of wire brushing, and wet and dry paper. When I purchased Tillie, she had a hole in the dash for a headlight switch, As I don't have lights at the moment I've decided to fill the hole by using a small square of sheet metal and some body filler. 
 I've also taken the opportunity to replace the dash breather mesh. With the dash in place the whole lot has been primed and silicon sealant used between the mating parts. Once the dash was mounted, I was pleased with the results.

I've also started to apply grey primed to the main tractor body and axle as can be seen in the above photo's. Turning may attention to the seat and sprung bracket, I removed the old seat from the bracket with the aid of a disc cutter. A 24hr acid dip for the bracket followed by an hour removing the surface rust has left me with a salvageable part. A big push in June, may just see Tillie up and running in July? 

Monday, 7 June 2010

Front Axle

A month or so has passed since my last update. I've been busy with Tillie. The good news being lots of progress has been made. The not so good news is that I've missed my target date of the 6th June for getting her back on the road. Whilst this is disappointing, I'm pretty relaxed about it, what will be etc etc.

I'm hoping that by July I should have the top coat applied and looking to road test (fingers crossed).
With the engine refitted its time to refit the front axle. This was a straightforward affair offering up the axle to the engine block on a trolley jack.


With the axle fitted its back to the wire brushes to remove all the old paint and corrosion (a job I'm completely fed up with now!). This time a different colour primer (as its kicking around), red oxide.

Monday, 10 May 2010

Engine and Gearbox

Please with the priming of the gearbox and back axle. I have now refitted the engine to the gearbox.

This was a fairly straightforward task of balancing the block on a trolley jack with the help of a ratchet strap and Jammer. Once done then aligning both the engine and gearbox before bolting up. 

Not forgetting to coat the engine and gearbox mating surfaces and bolts with Duralac paste to prevent galvanic corrosion.

With the engine mounted, I fitted a new head gasket and replaced the head and rocker assembly. Pleased with my mornings work and over dinner with Carl and Phil, I decided to crack open some of last autumns cider.

The general consensus being that the work last Sept was worth it ! The bars been set. Up to Phil, Geoff and Rob to see if they can better it. Why is it in the blog? well its named after Tillie of course !!
 

Tuesday, 4 May 2010

More Bank Holidays

What a difference a Bank Holiday weekend makes. Or maybe its the recent good weather or, my recent tyre purchase? Whatever, it meant I was able to commit some real time to Tillie.


On Friday I spent a few hours wire brushing the final bits of old paint off the back axle and removing the Top Link Rocker. The location pin is rock hard so I still have the pleasure of removing the pin but have managed to remove the rocker.
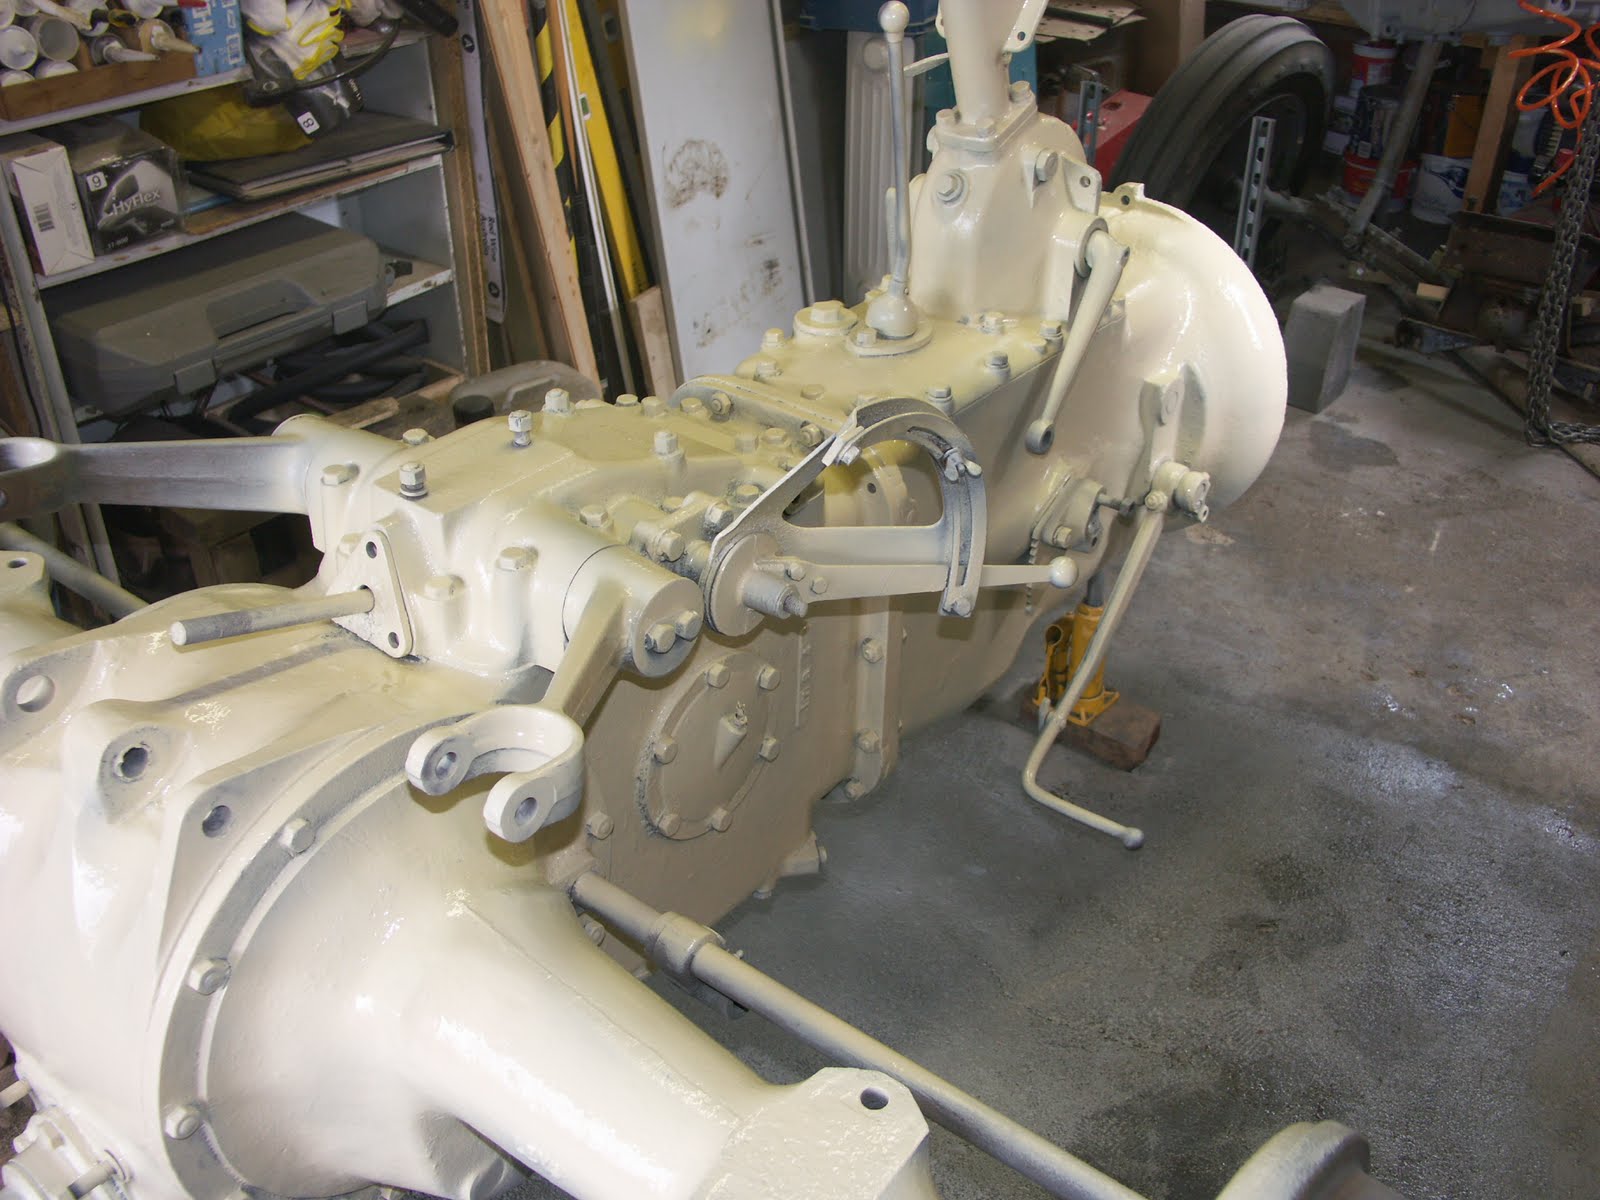
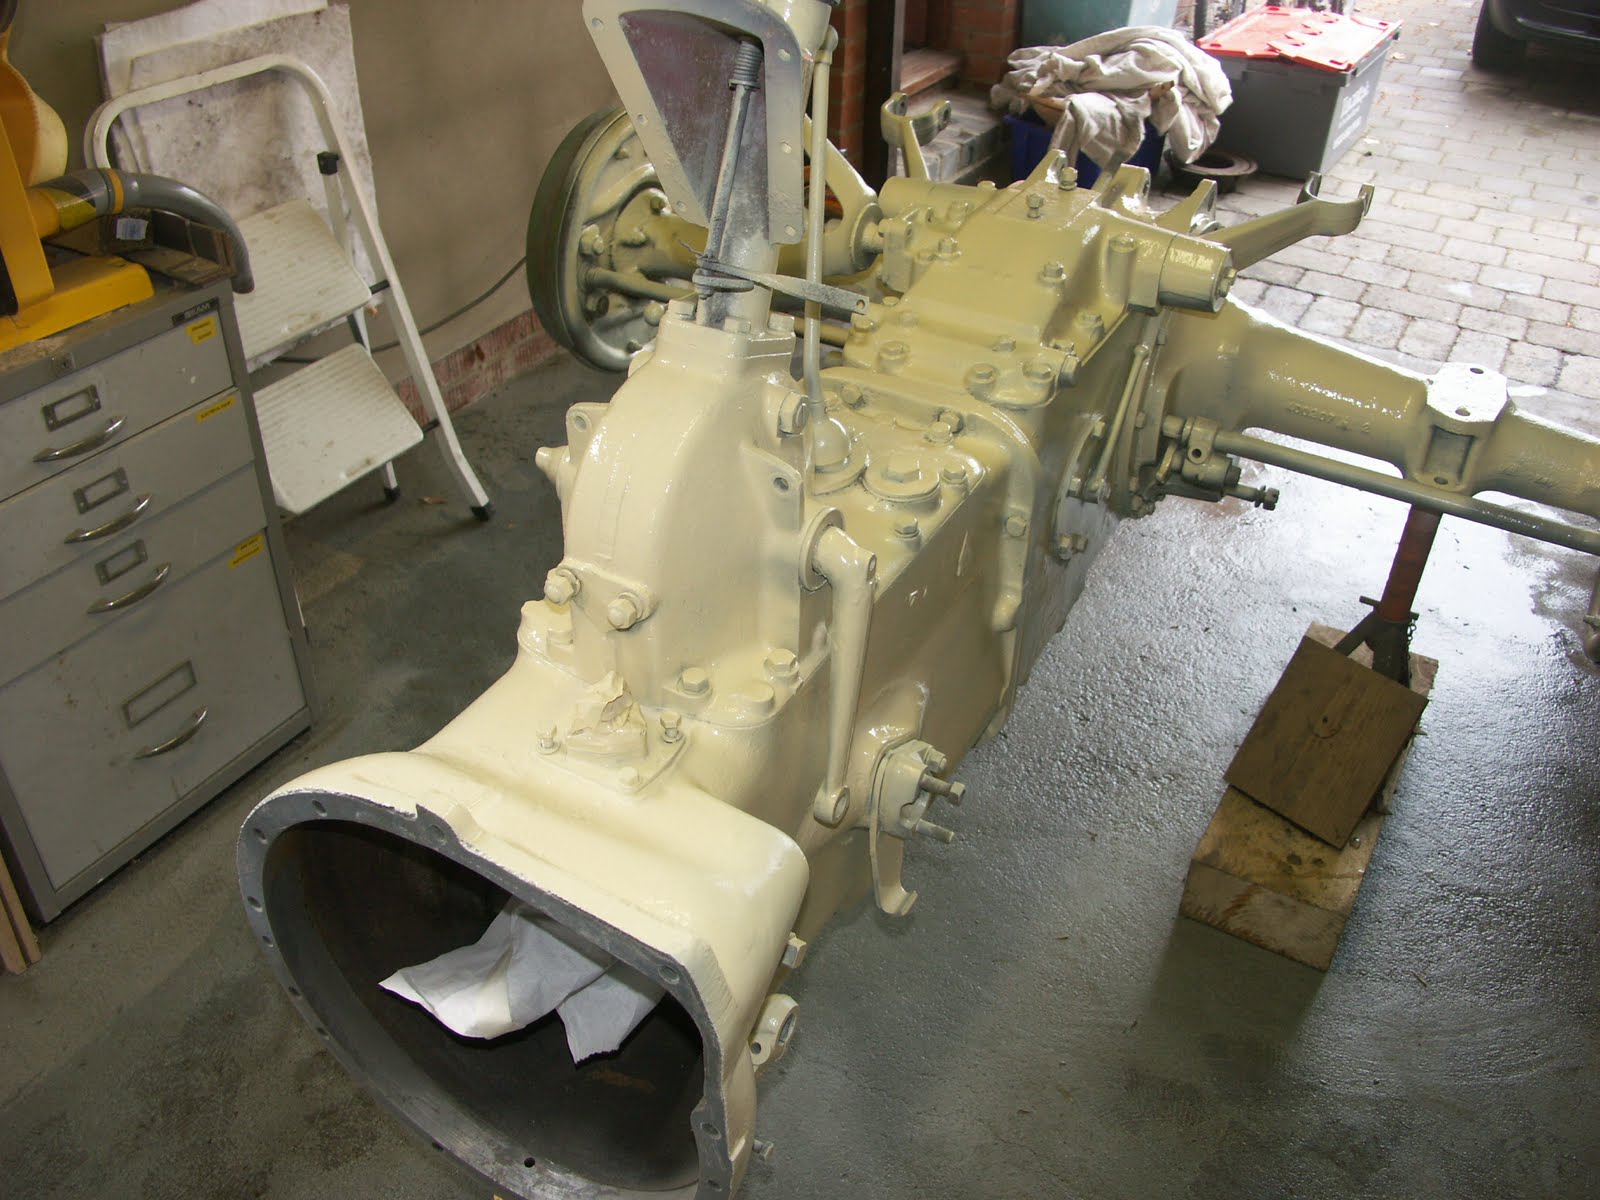
The photo opposite shows a 'naked' Tillie. With the tractor now prepped time to turn my attention to priming. I have decided to use a enamel primed called 'Repaint' as I already have a tin of primer and thinners. The thought of spraying the tractor takes me back to my late teens, when everybody seemed to spend there lives repairing car body work with Isopon P38. I can still remember the smell of the Isopon (probably not a good thing!) and spending hours rubbing down filler and spraying car panels.
As can be seen from the next photos, the primer is a cream colour. This will help when I top coat the tractor in seeing where I've been and the depth of the top coat.
Spraying the primer has produced a good finish and I'm really pleased with the result.
This only took about an hour, so time to go to the Pub afterwards to settle the dust.
The plan is to leave the primer a couple of weeks to fully harden before top coating.


For the top coat, I already have some Agriline Ferguson Grey enamel so the plan is to prepare the dash, battery tray, track rods refit the engine and front axle before top coating.
It's satisfying to see the results all coming together.

Saturday, 1 May 2010

New Rubber


Quick update,

Spotted a pair of rear tryes for sale on ebay. As Tillie currently only has grass tryes, thought these would complete the look. Deal done, a trip to Essex to collect and home.

Got home about midnight, with no sign of the trailer tailgate !!!!

Deciding that it couldn't have come off on the motorway, I retraced my route only to find it laying in the middle of the road in the next village to home. A real mystery how it became detatched ! But thankfully no damage done.

A quick hose down the next day and the tryes look good, brand new and unused a result.

Tuesday, 20 April 2010

Change of Plan

Current situation, Engine hung from the garage roof, new clutch attached and waiting to be refitted to the gearbox. Virtually, every removal piece of tin-work (dash, battery box, seat, wings) removed from the chassis. Lift arms and top link and control spring removed. Front axle laid on the floor.

Poor Tillie doesn't much resemble a tractor !

What's more I've been reminded that I have a bet on down the pub that the old girl will be back up and running by the 6th June, help !

With this in mind I had a major push on Saturday continuing to prep the back axle, gearbox and bell housing ready for primer. I've decided this is the priority, and need about another 8hrs wire brushing, grinding and cleaning.

Once primed the plan is to refit the engine leaving the front axle to strip and paint and all tin- work. Its fills like an uphill battle and a tall order to hit the 6th.

Tuesday, 6 April 2010

Proof that Oil and Water Don't Mix

As variety is the spice of life I've decided to have a little break from the engine rebuild. So I set about removing the dash panel and battery tray ready for prepping the gearbox and axle for painting. I'm using a range of wire and abrasive coated nylon brushes in an electric drill to remove most of the old paint, muck and corrosion. Whilst tackling the steering box, water started to run from the bottom of the steering box casting. After about 200ml, the water changed to oil which in turn changed to a thick orangery sludge !
As can be seen from the first photo, note the running water !
Having allowed all the oil to drain and pushing out the sludge using a air pressure, I was left with a small hole in the ally casting. Interestingly this had showed no signs of leaking prior to me removing the old paint. I guess the oil is under no pressure so a bit of paint was sufficient to prevent any leaks. The hole can be clearly seen in the photo below.

Options for repair are either remove the steering box and take a trip to the welders or, fill the hole with a liquid metal or epoxy adhesive. I decide to go the epoxy route for both speed and cost. If paint stopped the leak then providing the surface is well cleaned epoxy should in theory have no problems.
Just visible in the third photo is the repair. I've decided to fill the steering box with a semi fluid grease instead of oil on the basis that this should limit any leakage from the steering arm seals. Hopefully the epoxy repair will hold and once painted won't be visible.

Friday, 19 March 2010

Crankshaft

Right, time for another update. Having removed the sump I have checked the crankshaft end float. This is 12 thou. The manual suggests the new clearance should be between 5 and 12 thou with a "max permissible return to service wear" of 10 thou (I'm guessing this means that if greater than 10 thou the engine should not be put back into service without new bearings). I've therefore decided I need to replace the thrust bearings and the main bearings at the same time.

When the new thrust bearings arrived, I decided to compared there thickness, the new bearings being 2 thou thicker than the old ones. With a bearing either side of the crank journal this should reduce the end float to about 8 thou ( I hope).
I'm now in a position to start the reassembly process. This feels good after a couple of weeks of un-bolting and removing as many parts as I can.
After reassembling the bearings and replacing the rear seal (easy with the sump removed). I used a dial test indicator to measure the new end float. 7 thou and success!
Whilst cleaning up the sump jointing flange on the bottom of the engine, I come across two sets of hand punched figures at either end of the block 'H25' (see bottom photo). I'm intrigued to find out what these signify or mean.

With the sump on these numbers are hidden. Hopefully the FoFH maybe able to provide an answer or two?
Clutch and rear gear box oil seal ordered today as well. So the next job is to remove the gearbox input shaft and replace this seal. Hopefully this should minimise the chance of any future oil leaks.

Monday, 8 March 2010

Crankshaft Pulley

Quick update, I needn't of worried about getting the crankshaft pulley off. The nut came off like a dream with the right sized socket. To stop the crank turning whilst undoing the nut I used a piece of hardwood between the crank and the crankcase.

Pleased with my result, I felt like updating the blog.

Sunday, 7 March 2010

More Engine

Since my last blog, I've managed to ‘find’ a block and tackle. I’m now in a position to remove the engine from the front axle. This will enable me to move the block with greater easy. Therefore the next job is to take off the sump and check the bearings. Having removed the sump, I'm presented with a thick oily mixture in the bottom of the sump that has the consistency of sticky toffee. Better out that in ! (see below).

Looking at the engine internals, my first observation is that the undersides of the pistons are shiny. Is this the answer to why the piston tops were clean compared to the head. I’m strongly of the opinion that the pistons have therefore been replaced.

With the sump off I can remove the main bearing carriers. Inspecting the bearings shows some but not excessive wear and that they are of standard size see below. The only problem I have is that I didn't think to remove the front fan belt pulley before removing the engine. My fear being that I won't be able to undo the pulley securing bolt/nut now the engine is out off the tractor. If this is the case I can't remove the pulley and timing belt cover which in turn means I can't take out the crank.
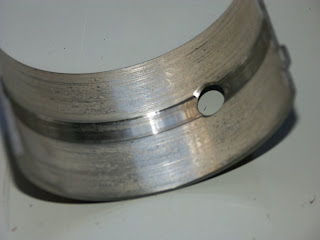
If this is the case I will have to replace the bearings in-situ. Whilst this can be done its not ideal.

On a different note, despite the cold weather I've started to notice that the lighter evenings are coming. Perhaps the first signs of spring. In the back of my mind I'm conscious that I need to start the process of re assembly some time. At the moment all I seam to be doing is dis-ssembly. Lots still to do.