Monday, 10 May 2010
Engine and Gearbox
Tuesday, 4 May 2010
More Bank Holidays


Saturday, 1 May 2010
New Rubber

Tuesday, 20 April 2010
Change of Plan
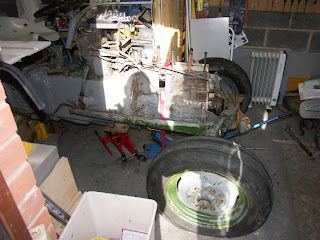
Poor Tillie doesn't much resemble a tractor !
What's more I've been reminded that I have a bet on down the pub that the old girl will be back up and running by the 6th June, help !
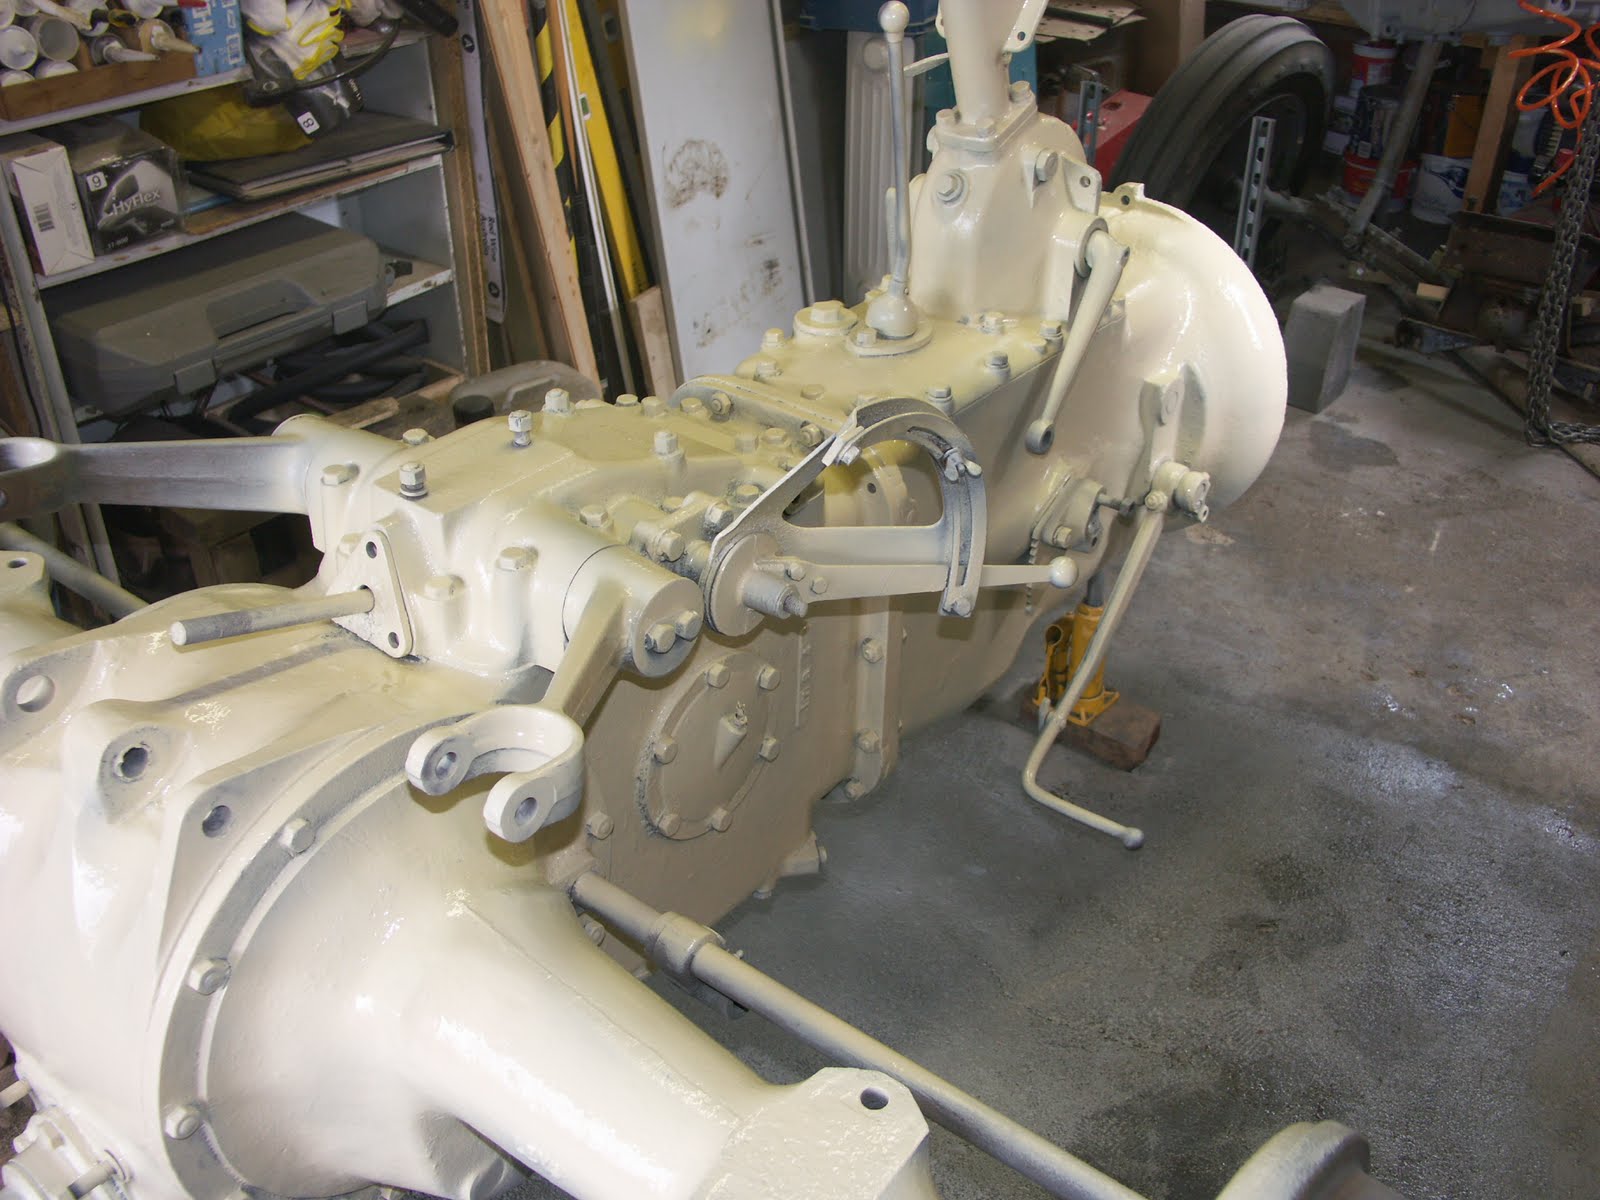
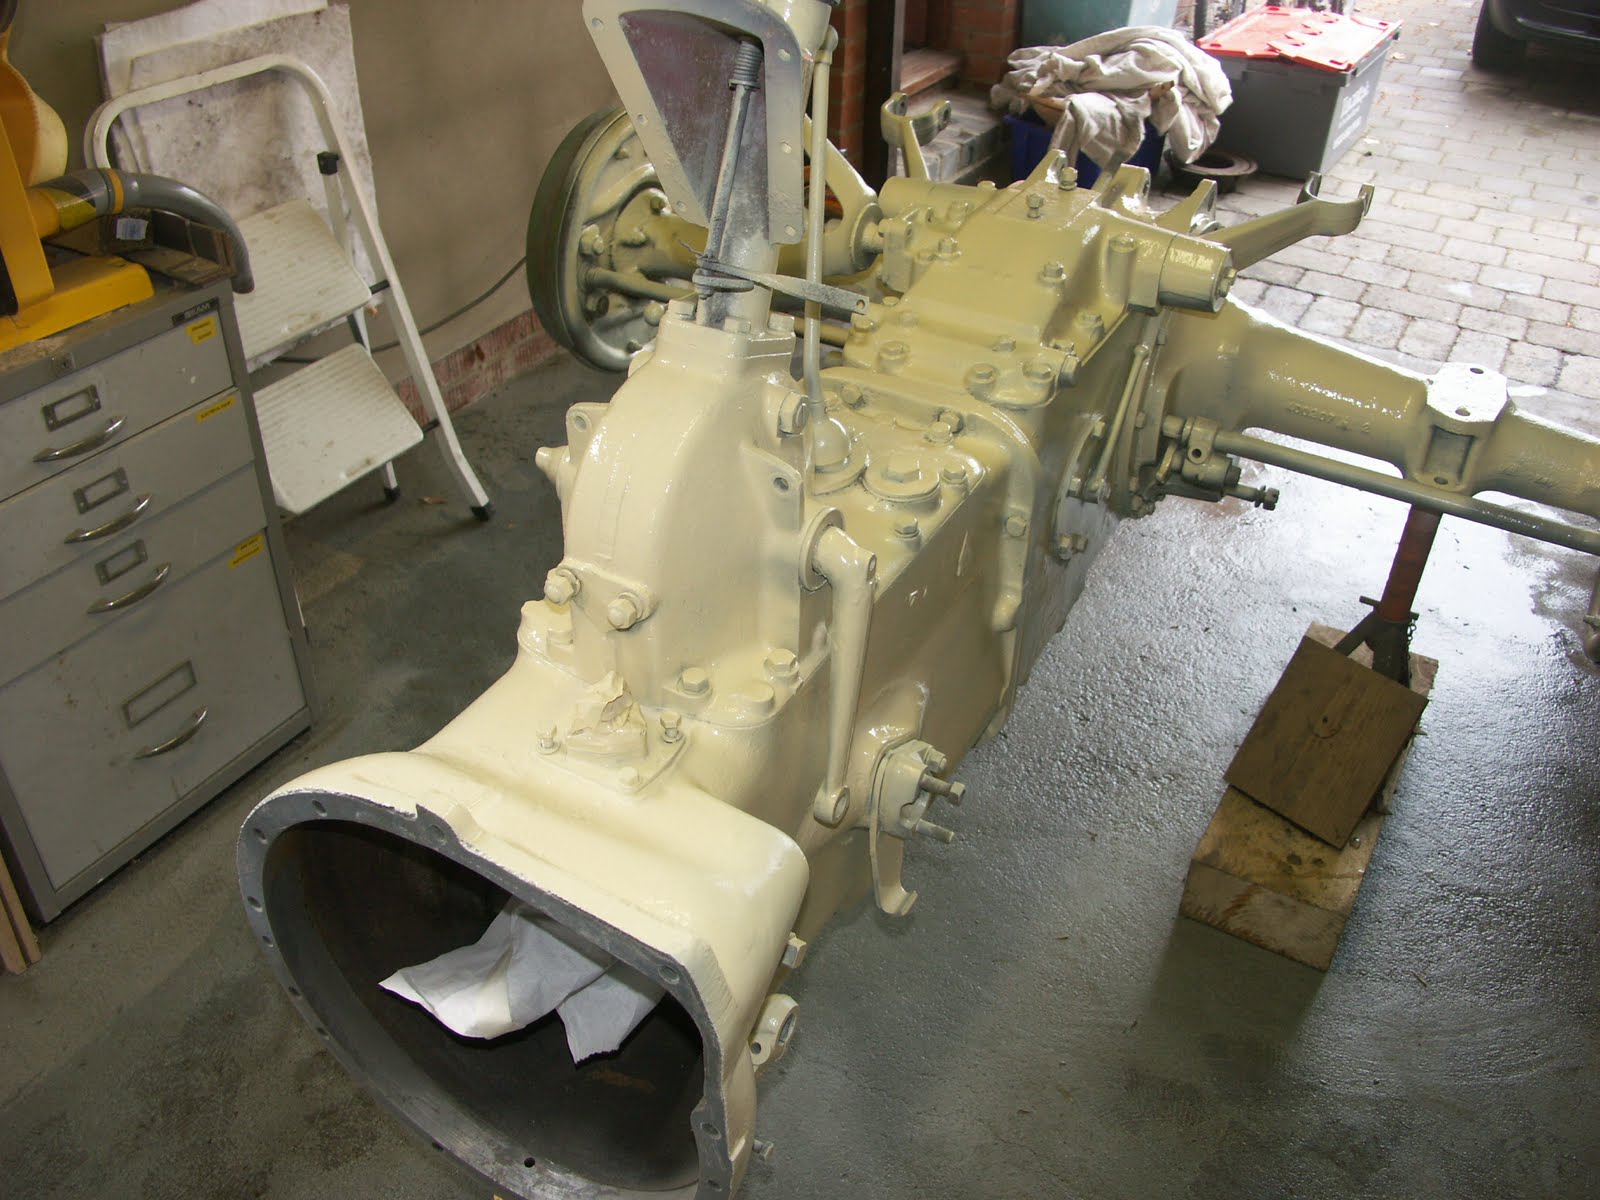
With this in mind I had a major push on Saturday continuing to prep the back axle, gearbox and bell housing ready for primer. I've decided this is the priority, and need about another 8hrs wire brushing, grinding and cleaning.
Once primed the plan is to refit the engine leaving the front axle to strip and paint and all tin- work. Its fills like an uphill battle and a tall order to hit the 6th.
Tuesday, 6 April 2010
Proof that Oil and Water Don't Mix
As can be seen from the first photo, note the running water !Having allowed all the oil to drain and pushing out the sludge using a air pressure, I was left with a small hole in the ally casting. Interestingly this had showed no signs of leaking prior to me removing the old paint. I guess the oil is under no pressure so a bit of paint was sufficient to prevent any leaks. The hole can be clearly seen in the photo below.

Options for repair are either remove the steering box and take a trip to the welders or, fill the hole with a liquid metal or epoxy adhesive. I decide to go the epoxy route for both speed and cost. If paint stopped the leak then providing the surface is well cleaned epoxy should in theory have no problems.
Just visible in the third photo is the repair. I've decided to fill the steering box with a semi fluid grease instead of oil on the basis that this should limit any leakage from the steering arm seals. Hopefully the epoxy repair will hold and once painted won't be visible.
Friday, 19 March 2010
Crankshaft
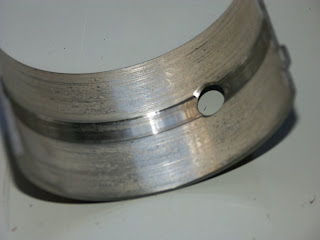
Right, time for another update. Having removed the sump I have checked the crankshaft end float. This is 12 thou. The manual suggests the new clearance should be between 5 and 12 thou with a "max permissible return to service wear" of 10 thou (I'm guessing this means that if greater than 10 thou the engine should not be put back into service without new bearings). I've therefore decided I need to replace the thrust bearings and the main bearings at the same time. When the new thrust bearings arrived, I decided to compared there thickness, the new bearings
being 2 thou thicker than the old ones. With a bearing either side of the crank journal this should reduce the end float to about 8 thou ( I hope).
of hand punched figures at either end of the block 'H25' (see bottom photo). I'm intrigued to find out what these signify or mean.With the sump on these numbers are hidden. Hopefully the FoFH maybe able to provide an answer or two?
Monday, 8 March 2010
Crankshaft Pulley
Pleased with my result, I felt like updating the blog.
Sunday, 7 March 2010
More Engine
Looking at the engine internals, my first observation is that the undersides of the pistons are shiny. Is this the answer to why the piston tops were clean compared to the head. I’m strongly of the opinion that the pistons have therefore been replaced.
With the sump off I can remove the main bearing carriers. Inspecting the bearings shows some but not excessive wear and that they are of standard size see below.
The only problem I have is that I didn't think to remove the front fan belt pulley before removing the engine. My fear being that I won't be able to undo the pulley securing bolt/nut now the engine is out off the tractor. If this is the case I can't remove the pulley and timing belt cover which in turn means I can't take out the crank.
If this is the case I will have to replace the bearings in-situ. Whilst this can be done its not ideal.
On a different note, despite the cold weather I've started to notice that the lighter evenings are coming. Perhaps the first signs of spring. In the back of my mind I'm conscious that I need to start the process of re assembly some time. At the moment all I seam to be doing is dis-ssembly. Lots still to do.
Saturday, 20 February 2010
Time to Split the Engine and Gearbox

This leak indicating that either the crankshaft rear seal and or the gearbox input shaft seal needed replacing.
As I don't have access to an engine hoist, I decided that I would leave the engine attached to the front axle and once split from the gearbox 'wheel' the engine forward using the front wheels and a trolley jack under the sump for support.
As the engine weights approximately 150 lbs and the thought of it dropping on my toes wasn't part of my plan. I took the precaution of using a ratchet strap around the engine and trolley jack to ensure the engine remained centred on the jack and wedging the engine against the front axle using wooden wedges to prevent the engine 'spinning' once disconnected from the gearbox (see photo below).
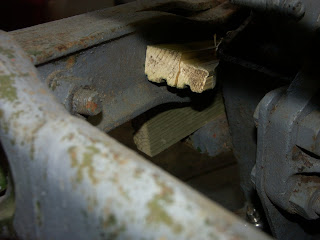
Having removed both track rods this left both the front wheels free to turn independently. Fearing this would cause a problem when moving the engine I took the additional precaution of attaching a piece of timber between the front ball joint mountings in order to ensure both wheels would remain parallel to each other. The timber can just be seen in the next photo at the front of the engine. Finally both radius arms were released from there gearbox mountings and splayed outwards slightly to clear the bell housing.
With all the engine/gearbox bolts removed but for two, I was ready to proceed. Slackening both bolts so that I had about a 10mm gap between the bolt head and the engine. I then called on the trusty foot of Geoff to push the clutch pedal down in order to 'break' the engine and gearbox joint.
The big moment ! unfortunately, nothing happened. A second go, still no luck. "Perhaps if we depress the clutch pedal instead of the brake ?" offered Geoff.
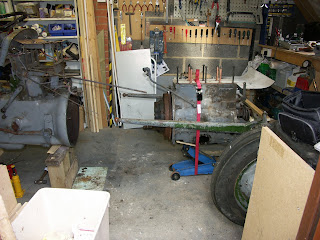
Two seconds later, and pressing the correct pedal this time, resulted in a satisfying 'Pop' as the engine moved away from the gearbox by 10mm . Totally removing both bolts and the engine was now free to be moved forward as seen in the photo opposite. The red ratchet strap around the engine and jack can also be seen in this photo.
Success a split engine and gearbox ! and surprisingly secure.
With the two parts now separated I could examine the clutch and investigate the oil leak.
My first observations was of a worn thrust bearing and also badly worn fingers on the clutch pressure plate. In the photo to the left you can see where the front surface of the top finger has completely worn through !
The the pressure plate will therefore need replacing and a new friction plate. 150 quid of unwanted expense.
Now to identify the oil leak, having remove the clutch and flywheel there is plenty of oil on the engine casing. New seal definitely needed. Interestingly, the bottom crankshaft seal retaining plate has a bolt missing (see photo below). Further evidence of previous 'tamperings'
The pilot bearing in the flywheel is also knacked so I'm looking at the following parts;
Crankshaft seal, pilot bearing, flywheel locking plates, friction plate, pressure plate, thrust bearing and a gearbox input shaft seal.
Enough excitement for one day !
Tuesday, 9 February 2010
Head Work

Whilst cleaning the head, I also came across a date plate mounted on the exhaust/inlet top face of the head. I can only assume this is the date of the head manufacture or head assembly. The date is 21.8.54. According to the FoFH club, Tillie rolled off the production line on the 24th Sept 1954. The date on the head of the 21st August 1954 is therefore consistent with the manufacture of components prior to full assemble. A case of conception followed by birth. I must say, little discoveries like this are one of the unexpected pleasures of this restoration project. Its like being some form of industrial archaecologist. Pictured below is date plate. 
Finally, last week was my Birthday. I'm pleased to say that Tillie wasn't forgotten. She benefited from a new seat (thanks to the Taylor's & the Chaffinches) and a new steering wheel (thanks Doreen). The next job is to split the engine and gearbox. Keep tuned!
Monday, 25 January 2010
In the Warm
A tight fit but Tillies in the warm for Winter, note the new and shiny left hand side brake drum and backplate.
I can now start the engine rebuild, first job has been to remove the cylinder head (see below).
On first inspection everything looks fine. I will replace the head gasket and check a few other components such as the valves and timing chain.
Hopefully I can then start to reassemble her and start the repainting process.
On a recent trip to a local pub I noticed a poster for a Summer fete, including a show of classic cars and tractors. The Fete's in June. Its about a 7 mile journey across the Ridgeway so I now have a target to aim for and potentially Tillies first show!
Wednesday, 20 January 2010
Last Rear Axle (hopefully)
2000 PSI later I ended up with the bearing still in the same place and a distorted bearing carrier ! As a result the half shaft has been sent to the great big scrap metal yard in the sky.
Despite this disappointment, the refurb of the rear brake and hub have been successful (see below, note homemade gasket RHS of photo's). 
Back to the half shaft, second hand item sourced from Swindon for £30 complete with a brake drum, result ! Last Saturday, working in the remains of the snow, I therefore bit the bullet and refitted the replacement half shaft and refurbed brake to the tractor. This was a pretty straightforward task and enabled me to refit the back wheel (below - photo of half fitting)
.
Tuesday, 10 November 2009
Even More Rear Axle
I completed the fabrication of the bearing pulling tool. However, when used it, I managed to strip the thread of the jacking bolt. This will now need to be repaired before I try again.
On a positive note, I've wire brushed the brake backing plate and brake drum. These have been primed and painted. I will post some picture of the half shaft, bearing tool and renovated brake parts when I get chance.
Wednesday, 21 October 2009
More Rear Axle
Tuesday, 6 October 2009
Rear Axle
Some research on the FoFH forum suggests I have a challenging task in front of me. The outer seal appears to need the half shaft and associated wheel bearing removed. The inner seal is easier in that once the half shaft and axle housing is removed the seal is a more straightforward replacement.
Picture above shows the brake drum removed. Process is slow as I've never attempted this before and nothing seems to want to come apart. Having drained down the rear axle oil this looked emulsified and in poor condition.
With the dark nights drawing in, its a weekend activity (my garage isn't big enough to fit tractor and remove the half shaft).
Thankfully, the brake shoes and drum look in reasonable condition. So new bearing and seals is the first job.
Monday, 21 September 2009
Cider Update
Tuesday, 15 September 2009
Olives, Apples and Tractors
Saturday, petrol tank off and fuel tap removed, blockage found on the reserve side of the tank as suspected. New toolbox and ignition switch fitted. However the most important job is to fabricate a bracket so I can mount a tow ball in order to tow my trailer.
The trailer being the preferred method of conveyance (plus two Straw bales – well done Phil) to the Sweet Olive Restaurant for (left to right) Rob,Geoff, Phil and Kevin.
A 20min or so drive, smiles on everybody’s faces and the general acceptance that being towed by a vintage tractor in a trailer with a beer in hand is the only way to travel!
Above, proud owner, Tillie and guests.
Come Sunday, a further plan is hatched to use the tractor and trailer to go scrumping around the village in order to gather a crop for next weeks cider making project. The scrumping ends down the Red Lion where the ‘Cider Boy’s’ and Tillie are targeted by some local country Girls.

Left- top to bottom Mia, Sharon, Dor's, The Vickster, Minster
Saturday, 5 September 2009
Road Legal
A day later I'm pleased with the results and much to my surprise a envelope arrives today with a Tax Disc and confirmation of my registration number plate. I can only assume someone at the DVLA office has applied some common sense.
Sunday, 23 August 2009
First Outing
Whilst working on the water system and gauges I removed the Fuel Tank and on replacing cleaned out the fuel bowl and line. When I brought Tillie, the engine run temperamentally, and would cough and sputter a bit depending on rev's.
When I refitted the fuel tank I noticed that I couldn't get fuel to flow from the small petrol start up tank, but had flow from the main TVO tank. I think the fuel tap needs some investigation. Problem solved by filling the main tank with straight petrol.
Having done this, she started up first time and runs alot smoother. Therefore I'm assuming there is a fuel restriction issue when using the start up tank.
The upright exhaust looks a lot better and sounds really good too.
Having done all this work a little trip to the Red Lion was therefore in order to celebrate.
I've also now received my verification letter from the FoFH. This dates Tillie to Friday 24th September 1954, being one of 227 tractors made that day.
Insurance has been sorted with NUFU at £38 per year fully comp. The next job is to apply for an age related number plate.
Progress - Work Begins
On further investigation its not the pump but the pump bowl that is badly corroded. Having phoned around this is a common problem on TVO Fergi's and bad news, only second hand parts are available.
A visit to Specialised Welding in Steventon seemed to offer a solution. Unfortunately, the casting is so thin that when welded, further cracks appear ! Option 2 is to flood the surface with silver solder. The result looks good (thanks Frank) but we will have to wait until its refitted and pressurised to see. As I've had to drain down the water system I'm taking the opportunity to replace the hoses, fan belt, thermostat, pump, temp gauge and sender. This should, fingers crossed, mean I have a reliable cooling system.
50 year old nuts and bolts mean a combination of lots of release oil and in some cases heat. The most difficult bolts have been the two holding the thermostat housing down, I guess the ally casting and mild steel bolts are to blame for this. One of the bolts sheared off during removal. I managed to drill this out, but with no UNF taps, I ended up re-cutting the thread as 8mm (Imperial taps and dies added to the shopping list).
The temperature sender was also a pain to remove and I ended up drilling the main body and screwing in a large self tapping screw and then using a pair of stillson's to turn and release the sender.
Another area of interest has been the need to make up a joint for where the pump body bolts to the engine block, this takes be back to my apprenticeship. I've managed to obtain some jointing material and crudely made a joint used the pump body and a ball pain hammer (hole punches also added to the shopping list).
New pump, temperature sender, gauge, thermostat fitted a coat of paint to the removed components plus a new upright exhaust (to replace the underslung one), new battery and new oil pressure gauge and I'm ready to refill and test.
Spend on the above bits so far £230.
Labels: Ferguson TED20 Water Cooling System